Using Adobe Connect#
Accessing The Room#
Attention
Only CIS personnel with fitness may access the sitroom.
Navigate to https://share.dhs.gov/cybersitaware and log in.
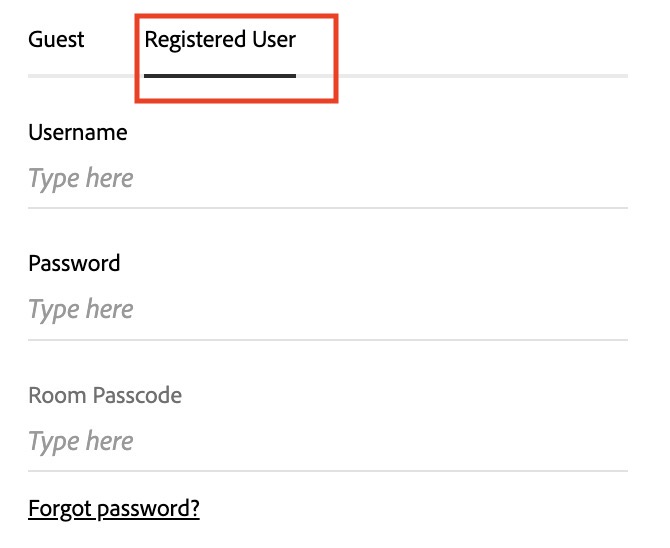
If you have a HSIN account, do not log in as a guest; use the Registered User tab.
The room will automatically open if your HSIN account has host-level permissions, otherwise you will need another host-level user to open the room.
Username - your HSIN account username.
Password - your HSIN account password.
Room Password - specific to each sitroom and is provided in the soc_elections_coordination slack channel.
HSIN Password Reset
HSIN accounts are periodically required to change passwords. Always check your HSIN account 1-2 days BEFORE an election to ensure your password has not expired.
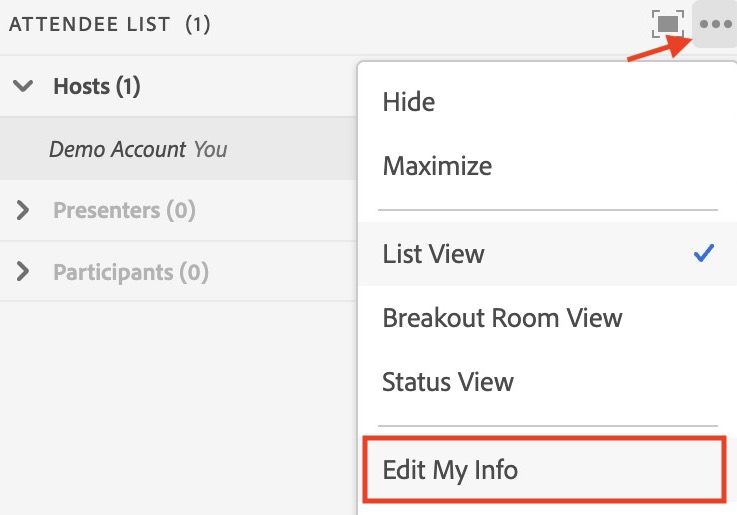
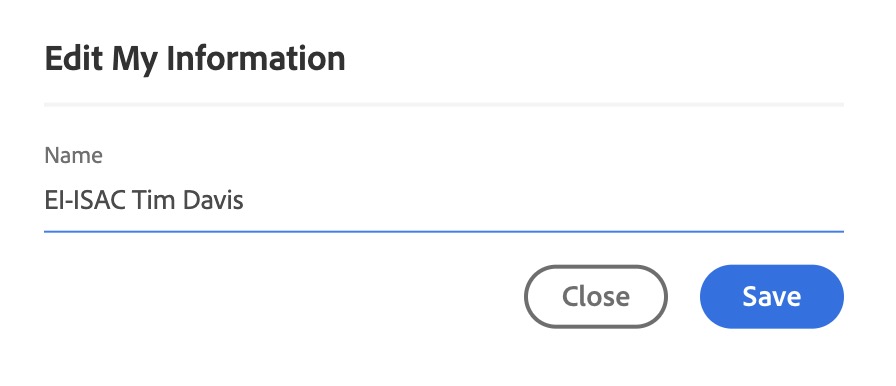
Once logged in, edit your name to include EI-ISAC (this helps identify you to members). Use the drop-down menu ![]() in the Attendee List and click “Edit My Info.”
in the Attendee List and click “Edit My Info.”
Attendee Roles#
Attendees joining the sitroom join with the “participant” role, the lowest role. Participants cannot edit/move pods or move between breakout rooms.
Unless expressly granted the host role, even users with HSIN accounts will join with the “participant” role. For information on granting HSIN users host roles, see Edit Participants.
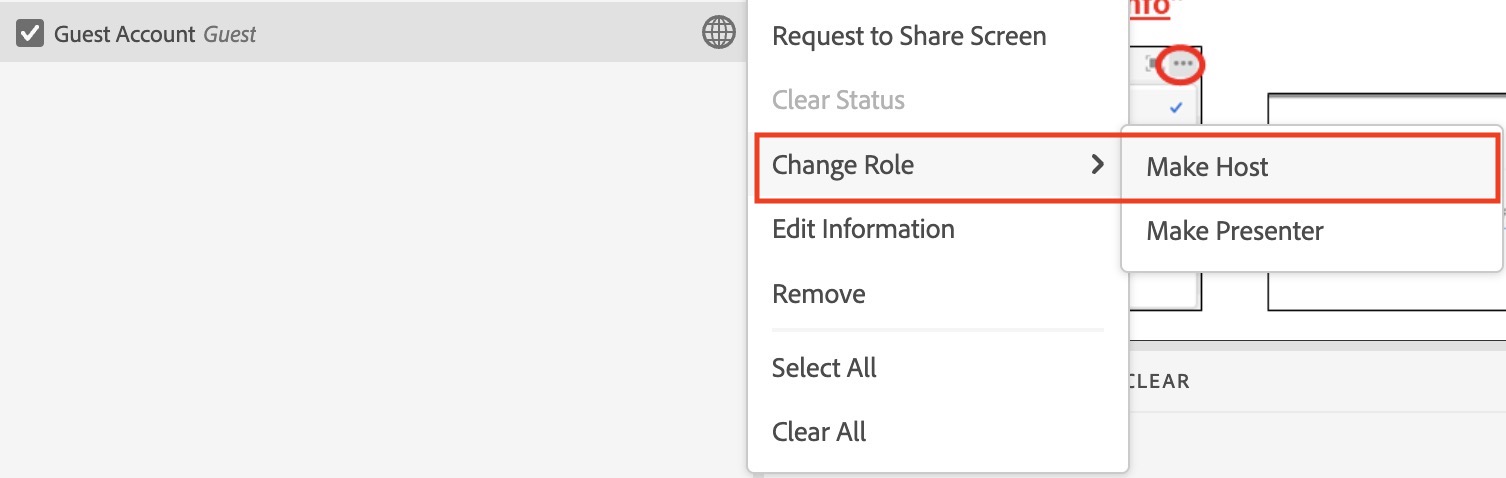
In list view, select the attendee’s name, select “change role,” and then select “host” (the sitroom does not use the “presenter” role).
Modifying Your Role#
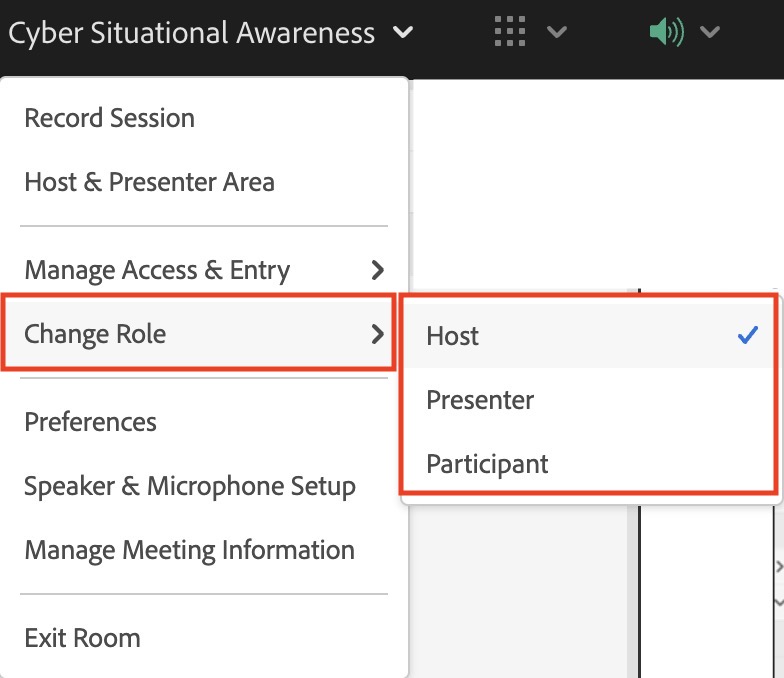
Adobe Connect allows you to ‘demote’ yourself to a non-host role. This can be done following the steps above or by opening the Main Menu  and selecting “change role.”
Attention
If you demote yourself and are the only host in the room, you must log out and back in to undo the change. It may take several attempts before your host role is restored.
Breakout Rooms#
Adobe Connect allows for multiple breakout rooms to be run at the same time. The content shared in each of these rooms is unique to them. Attendees (including those with the host role) can only be in one room at a time.
Only users with host-level permissions can move between rooms by themselves. All other permission levels require a host-user to move them.
Currently, the main room is set as the lobby, where attendees are initially placed when entering the room, and the sitroom as the breakout room. TLP:AMBER information can be safely shared in the sitroom without spilling into the lobby area.
Setting Up Breakout Rooms#
When breakout rooms are not enabled, the sitroom layout will appear as:
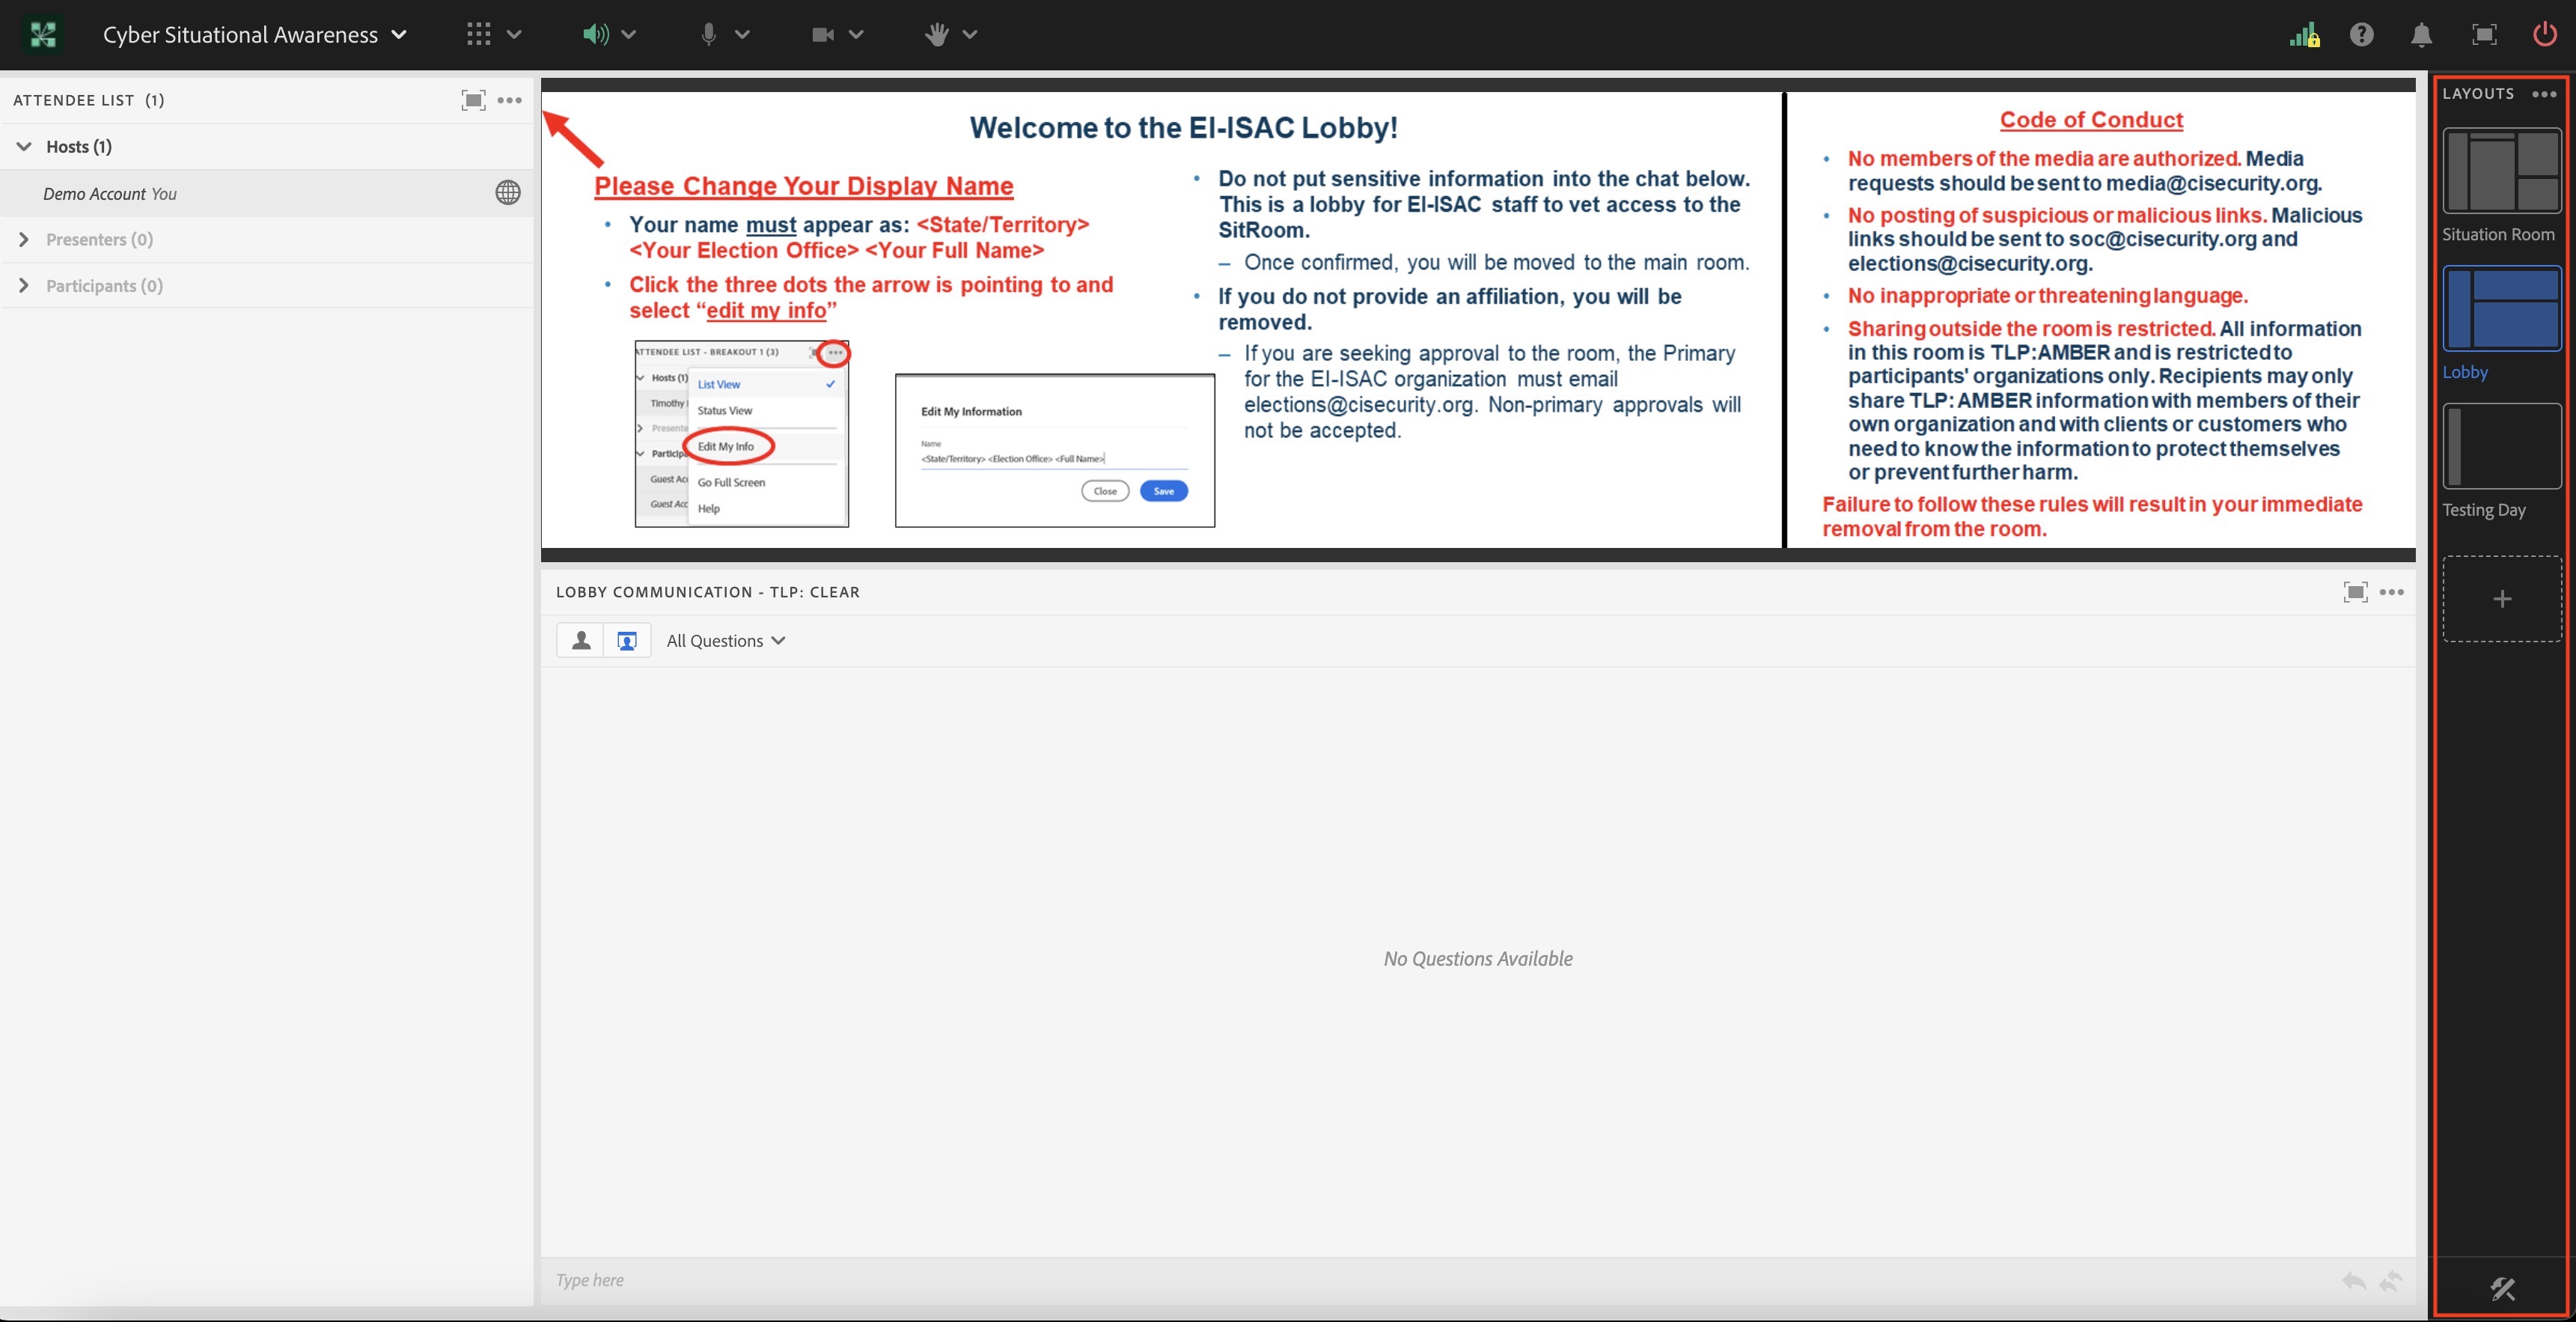
The “layouts” sidebar displays three rooms, and clicking on each room will navigate you (and anyone else) to that room. The “sitroom” and “testing day” rooms are spare rooms from prior versions of the sitroom where breakout rooms were not used.
Testing day
The testing day room may still be used if the sitroom is open for approved contacts to test their access. This feature has not been offered for several years.
Starting Breakout Rooms#
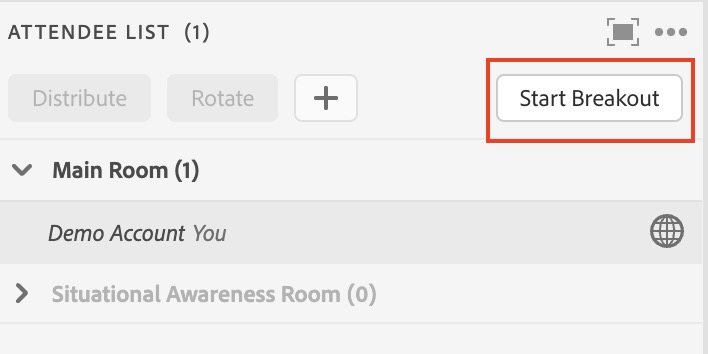
To begin breakout rooms, click the lobby layout. Click the pod menu icon ![]() in the attendee list pod, move to “breakout room view,” and select “start breakouts.”
in the attendee list pod, move to “breakout room view,” and select “start breakouts.”
Starting From Lobby
Breakout rooms must begin in the lobby layout, setting the lobby as the main room for attendees.
Moving Between Rooms#
Breakout Room View
You must be in “Breakout Room View” to move all attendees, INCLUDING YOURSELF. However, you do not need to be in the same “room” as the user to move them.
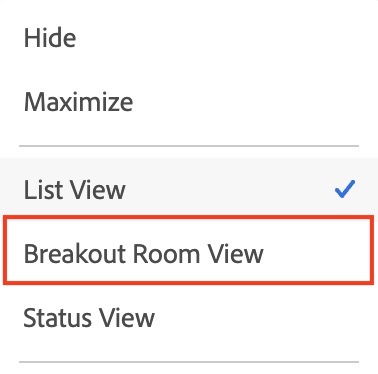
In the Atendee List Pod, open the pod’s menu ![]() and select “Breakout Room View.” This will change the Attendee Pod to display each room and a list of attendees.
and select “Breakout Room View.” This will change the Attendee Pod to display each room and a list of attendees.
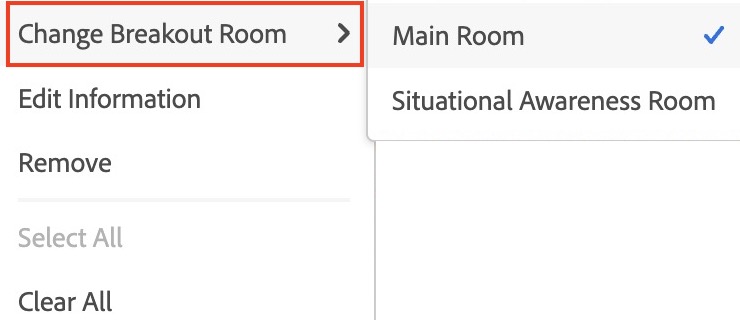
Select the user you want to move. From the pop-up menu select “Change Breakout Room” and choose the room you are moving the person to.
You can select multiple users by clicking on their names and move them all at once.
Adobe Connect’s Pods#
Adobe Connect offers multiple modules (“pods”) used to engage with attendees. Click the “pod controls” button ![]() in the Top Menu Bar to access them. The current pods available (as of 2023) are:
in the Top Menu Bar to access them. The current pods available (as of 2023) are:
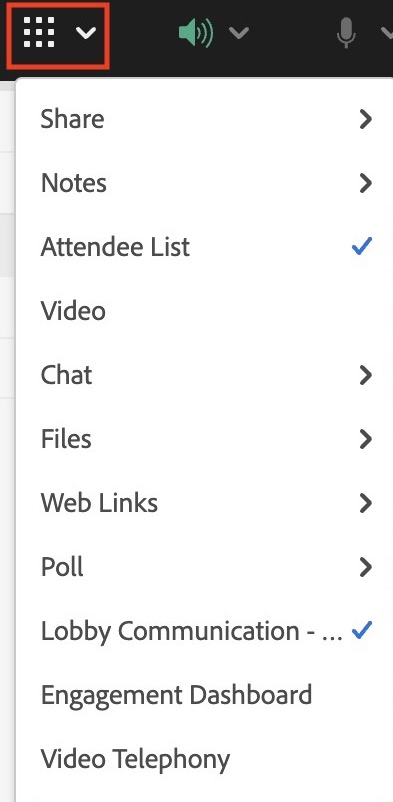
Share - Used to share images (such as the Lobby welcome image) or to set up custom pods. For more information on share pods, see share pods.
Notes - Adobe Connect’s equivalent to a .txt file. Used to share summaries of member reports.
Attendee List - Running list of who is in each room or their permission levels.
Video** - Used to stream webcam video.
Chat** - Adobe Connect’s built-in chat pod. As of 2023, this is no longer used for sitrooms (replaced with a custom chat pod).
Files** - Used to share files with attendees.
Web Links** - Used to list web links.
Poll - Interactive polling function, primarily used to determine interest in keeping sitrooms open beyond scheduled hours.
Q&A (Shown as “Lobby Communication”) - Interactive chat function that can only be used in the lobby.
Engagement Dashboard** - Only used in the “Host and Presenter Area” to show the number of attendees in the room.
Video Telephony** - Pod not supported by the sitroom.
** denotes pods that are not actively used.
Lock Pods#
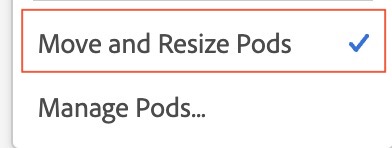
To lock pods in place and prevent you from accidentally moving them during a live sitroom, open the “pod controls” button ![]() in the Top Menu Bar and uncheck “move and resize pods.”
in the Top Menu Bar and uncheck “move and resize pods.”
It is a best practice for anyone with a host role to do this at the start of a sitroom to avoid accidentally moving the pods.
Pod Menus#
Most pods have 3 dots in the upper right-hand corner ![]() . Clicking these dots will open submenus for the pods.
. Clicking these dots will open submenus for the pods.
Some custom pods may have additional menus with added functionality.
Renaming Pods#
There are two options to rename a pod.
Double-click the name of the pod as it appears in the sitroom. A text cursor will appear, allowing you to modify the title.
Open the pod controls menu
 and select “manage pods” at the bottom. Hover over the pod you want to modify, and select the edit icon
  .
.
Showing Pods#
Internal Communication
Pods will only show in the room you are currently in. For example, if you display a chat pod in the lobby, it will only appear in the lobby. Some pods may only be displayed in the lobby (as of the writing of this document, the Lobby Communication Pod pod - a Q&A pod - is the only one that cannot be displayed in the sitroom).
To show a pod, open the pod controls menu ![]() . Navigate to the appropriate section, and select from the list of options.
. Navigate to the appropriate section, and select from the list of options.
Once selected, the existing pod will appear on the screen exactly where it previously was. This may result in the pod appearing on top of a current pod or in a different section of the screen than where you would like. To move the pod, drag it to where you want it displayed.
Attention
When the pod appears on your screen, it also appears on the participants’ screen. Attendees will see you dragging the pod around in real-time.
Hiding Pods#

To hide a pod, click the pod menu button ![]() and select “hide.” This will immediately remove the pod from view and leave a blank space where the pod was. Hiding a pod does not delete the pod. To delete a pod, see the section below.
and select “hide.” This will immediately remove the pod from view and leave a blank space where the pod was. Hiding a pod does not delete the pod. To delete a pod, see the section below.
All pods in the sitroom have the “hide” function.
Adding Pods#
Open the pod controls menu ![]() to create a new pod. Each pod sub-menu has an “add new…” button at the top. If you select “add new,” a new pod will appear on your screen (typically in the upper left-hand corner).
to create a new pod. Each pod sub-menu has an “add new…” button at the top. If you select “add new,” a new pod will appear on your screen (typically in the upper left-hand corner).
You can then modify the pod as appropriate and move it to where you want it displayed in the room.
Deleting Pods#
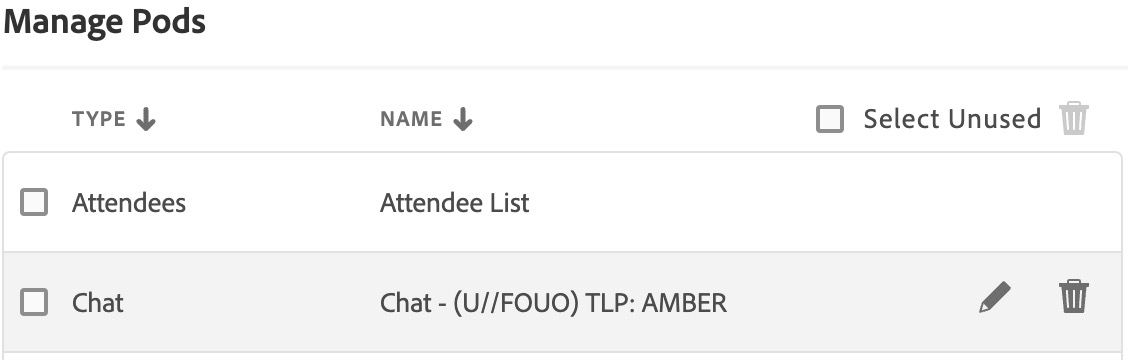
To delete a pod, open the pod controls menu ![]() and select “manage pods” at the bottom.
and select “manage pods” at the bottom.
The window that opens displays all pods created for all rooms.
Hover over the pod you want to delete, and select the delete icon  . A prompt will open asking if you are sure. If you are, select “delete.”
Custom Pods#
Adobe offers several custom Pods used to enhance a room. A complete list of these pods is found here
As of the writing of this guide, the only two custom pods used are the Contact Information Banner and Custom Chat Pod. Many available pods are games or other programs with no use in a sitroom. Review the list of custom pods periodically to determine if there any new options could benefit the sitroom.
To use a custom pod, select the “learn more” button on the pod you are interested in. On the custom pod’s webpage, click “download.”
A zip file is downloaded to your computer; you do not need to unzip this file. The entire zip file will then be uploaded to a share pod, enabling the new custom pod.
Share Pods#
Sharing Warning
Attendees automatically see everything that shared in a share pod. Exercise caution if changing content during a live sitroom.
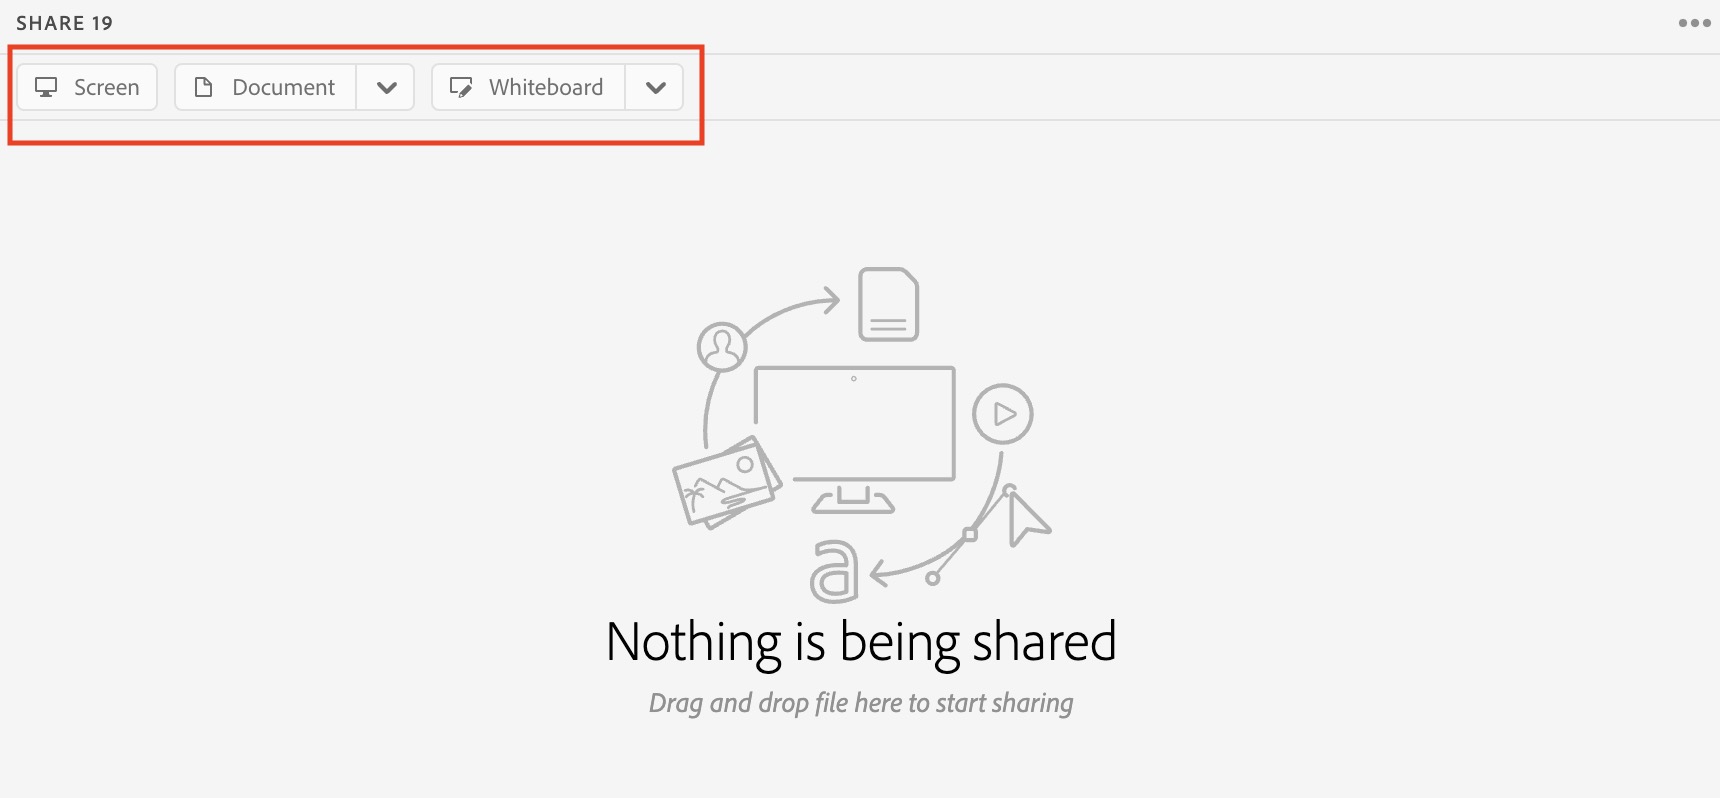
Share pods can display images or custom pods. A blank share pod will display a menu at the top showing the share options. (Alternatively, click the pod menu button ![]() , showing a “share” option and the same options.)
, showing a “share” option and the same options.)
Screen displays your screen. (not used)
- Document displays an image or other document (ex: Welcome Message/Code of Conduct).
This is the option used to upload custom pod zip files.
The arrow next to “document” will display a menu of recently shared files. This is a valuable feature if you accidentally stop sharing during a sitroom.
Whiteboard displays an interactive whiteboard (not used).

To stop sharing content, click the “stop sharing” button in the upper right-hand corner of the share pod.